Solidity Smart Contract Development - Mastering ethers.js
Introduction
In my previous article on Solidity fundamentals, we explored the core syntax and concepts of smart contract development. As a programmer with over 10 years of experience, I’ve found that understanding the tools and libraries that bridge our contracts with applications is crucial for effective blockchain development.
After working extensively with various blockchain frameworks and considering the industry trends, I’ve observed that while Python-based tools like Brownie offer excellent functionality, the JavaScript ecosystem with Hardhat has become the dominant choice for most teams. This is largely due to its extensive plugin system, better documentation, and widespread community adoption.
Today, I want to share my experience with ethers.js, a powerful JavaScript library that serves as the foundation for much of the Ethereum development ecosystem. Understanding ethers.js is essential before diving into frameworks like Hardhat, as it provides the core functionality for contract compilation, deployment, and interaction.
In this article, we’ll explore how to use ethers.js to interact with Ethereum test networks, specifically deploying contracts to Rinkeby through the Alchemy platform and performing various contract operations.
What is ethers.js?
ethers.js is a complete Ethereum wallet implementation and utilities library in JavaScript and TypeScript. It provides a clean, modular approach to interacting with the Ethereum blockchain and its ecosystem.
The library is available on GitHub with comprehensive documentation, making it an excellent choice for both beginners and experienced developers.
Installation
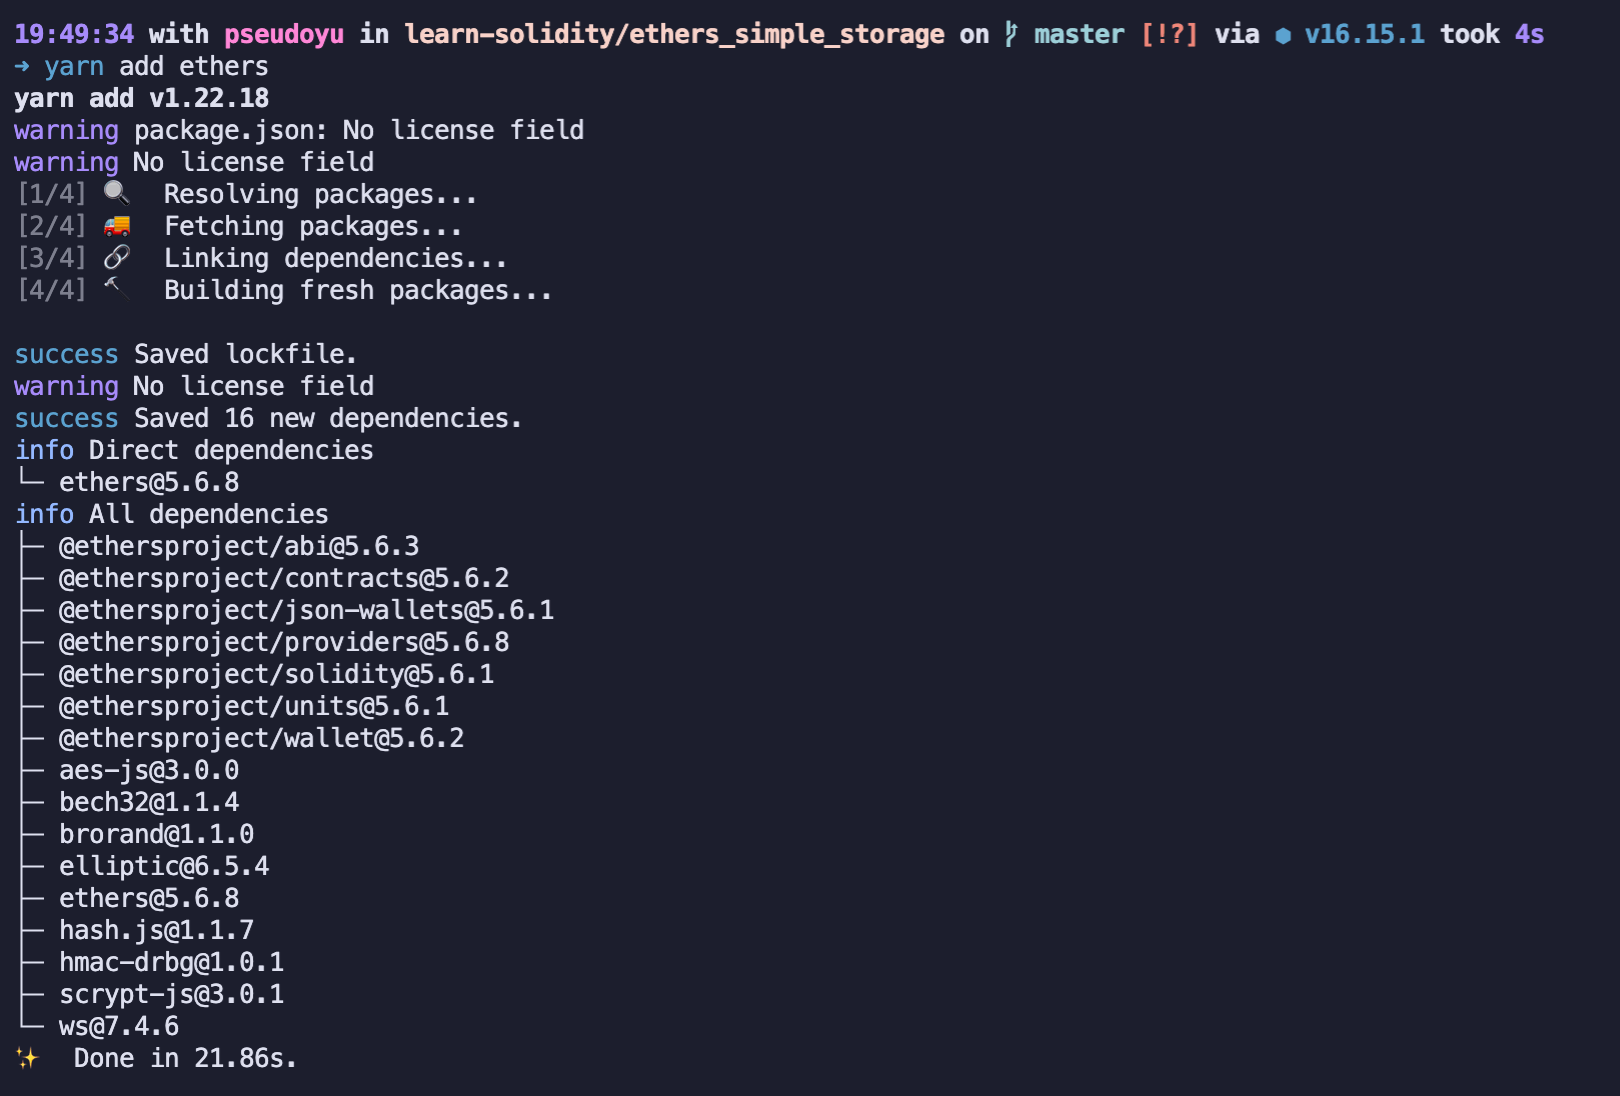
Install ethers.js using yarn or npm:
yarn add ethers
Basic Usage
Import the library using require or ES6 imports:
const ethers = require("ethers");
Solidity Contract Compilation
Contract Source Code
Let’s start with a simple storage contract that demonstrates basic Solidity functionality:
// SPDX-License-Identifier: MIT

pragma solidity ^0.8.7;

contract SimpleStorage {
    uint256 favoriteNumber;
    bool favoriteBool;

    struct People {
        uint256 favoriteNumber;
        string name;
    }

    People public person = People({favoriteNumber: 2, name: "Arthur"});

    People[] public people;

    mapping(string => uint256) public nameToFavoriteNumber;

    function store(uint256 _favoriteNumber) public returns (uint256) {
        favoriteNumber = _favoriteNumber;
        return favoriteNumber;
    }

    function retrieve() public view returns (uint256) {
        return favoriteNumber;
    }

    function addPerson(string memory _name, uint256 _favoriteNumber) public {
        people.push(People({favoriteNumber: _favoriteNumber, name: _name}));
        nameToFavoriteNumber[_name] = _favoriteNumber;
    }
}
This contract demonstrates several Solidity concepts:
- State variables storage
- Struct definitions and usage
- Array and mapping data structures
- Public functions for data manipulation
- View functions for data retrieval
Reading Contract Source Files
After writing and syntax-checking your Solidity contract, you need to compile it into ABI (Application Binary Interface) and bytecode for deployment.
Install the Solidity compiler with a specific version:
yarn add solc@0.8.7-fixed
Compile the contract using the solcjs command:
yarn solcjs --bin --abi --include-path node_modules/ --base-path . -o . SimpleStorage.sol
Since compilation is a frequent operation, I recommend adding a script to your package.json:
{
  "scripts": {
    "compile": "yarn solcjs --bin --abi --include-path node_modules/ --base-path . -o . SimpleStorage.sol"
  }
}
Now you can simply run yarn compile to generate the compiled contract files.
Getting Compilation Results
After compilation, you’ll have .abi and .bin files containing the contract’s ABI and bytecode respectively.
Reading bytecode and ABI
const fs = require("fs-extra");

const abi = fs.readFileSync("./SimpleStorage_sol_SimpleStorage.abi", "utf-8");
const binary = fs.readFileSync(
  "./SimpleStorage_sol_SimpleStorage.bin",
  "utf-8"
);
These files are essential for contract deployment and interaction.
Setting Up Rinkeby Test Network Environment (Alchemy)
For smart contract testing, we need to deploy to an actual blockchain network. I recommend using Alchemy’s Rinkeby testnet for development and testing.
Alchemy Platform
Visit Alchemy’s website, register and log in to access the dashboard showing your applications.
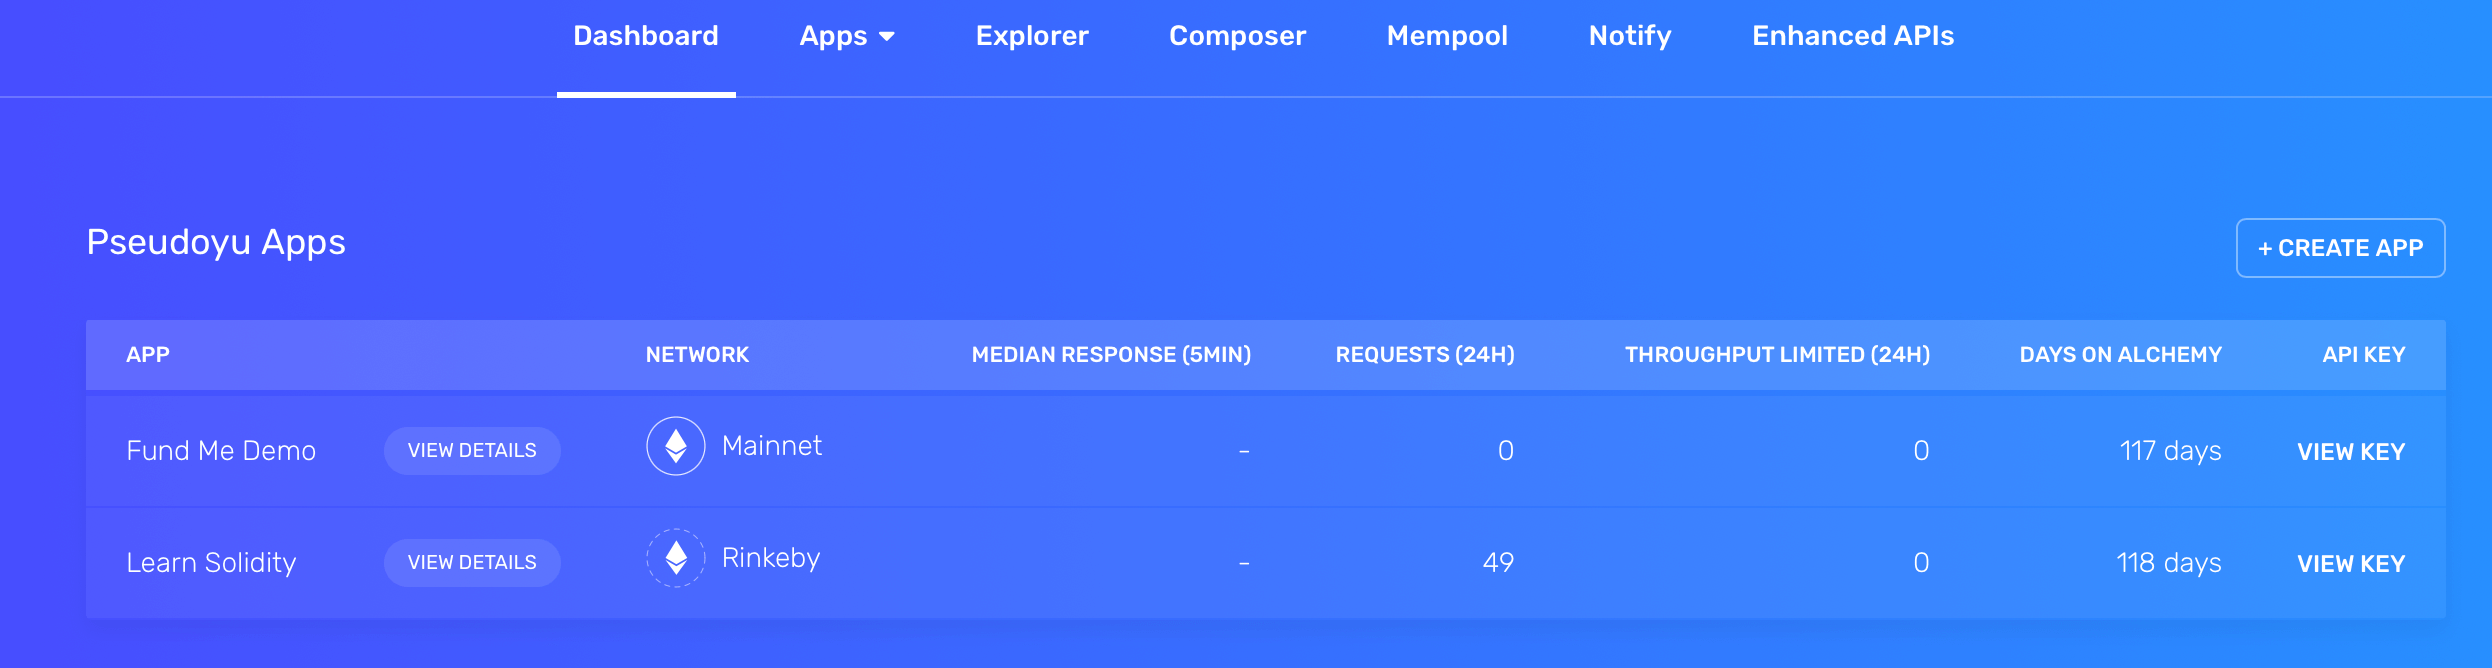
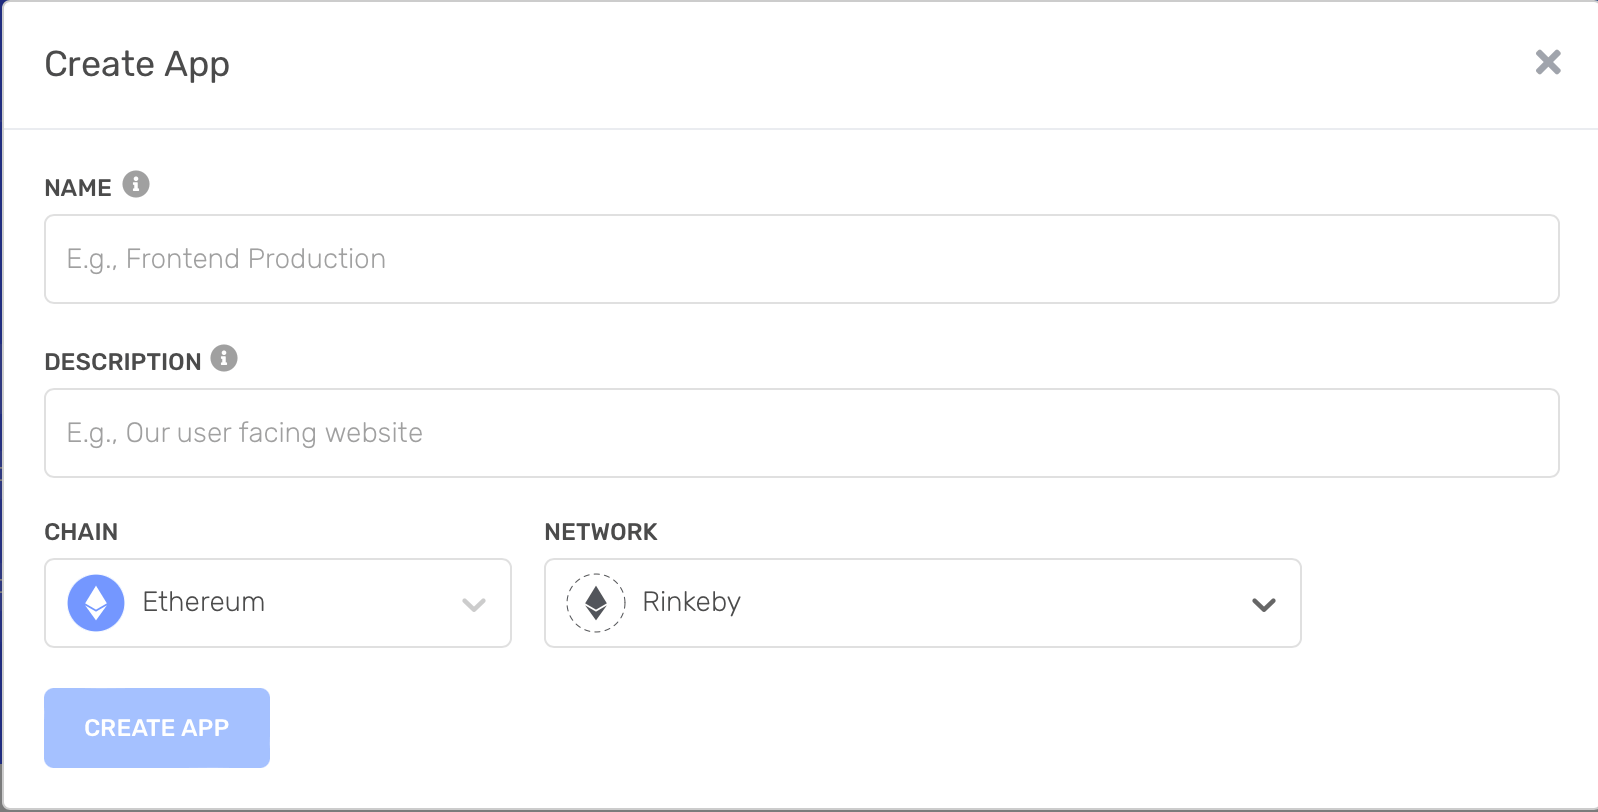
Click “Create App” to set up a new Rinkeby test network node:
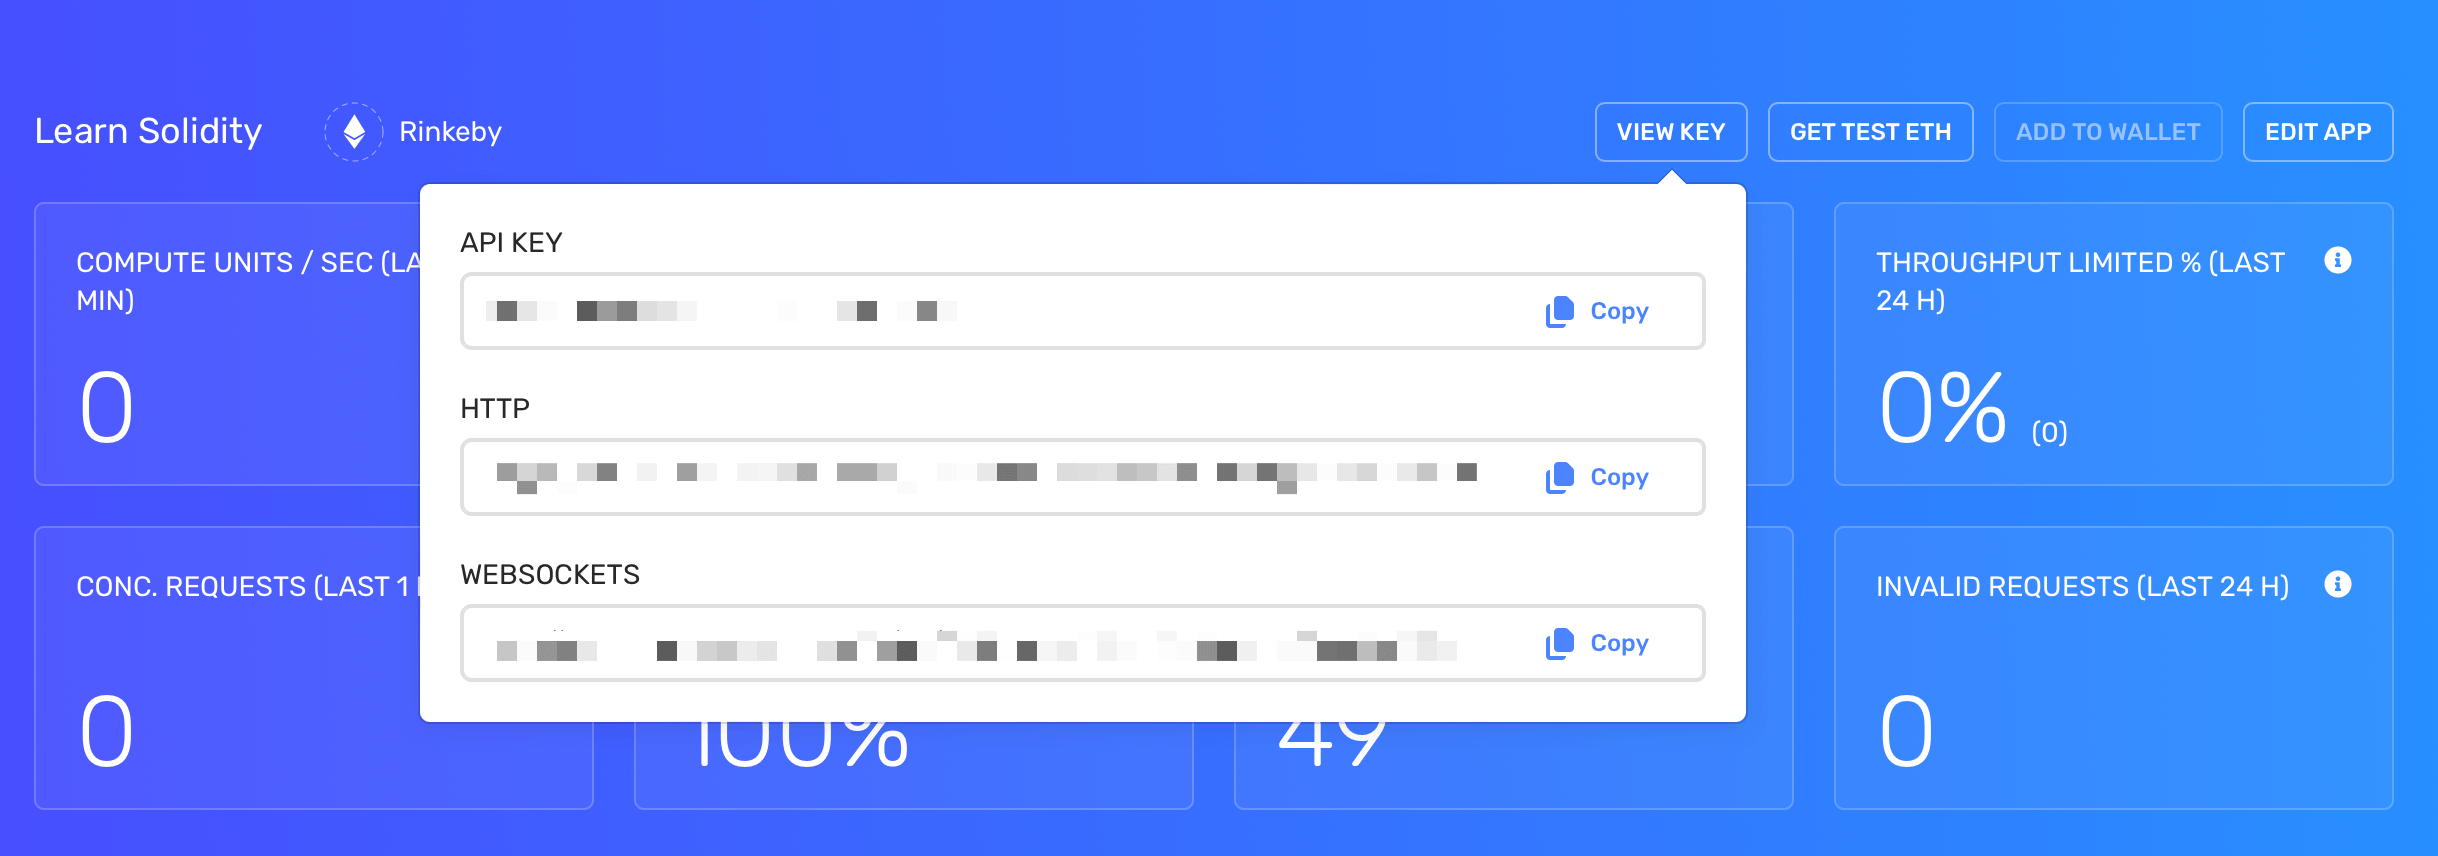
After creation, click “View Details” to access your app information. Click “View Key” in the top right to get your node connection details. Save the HTTP URL for later use.
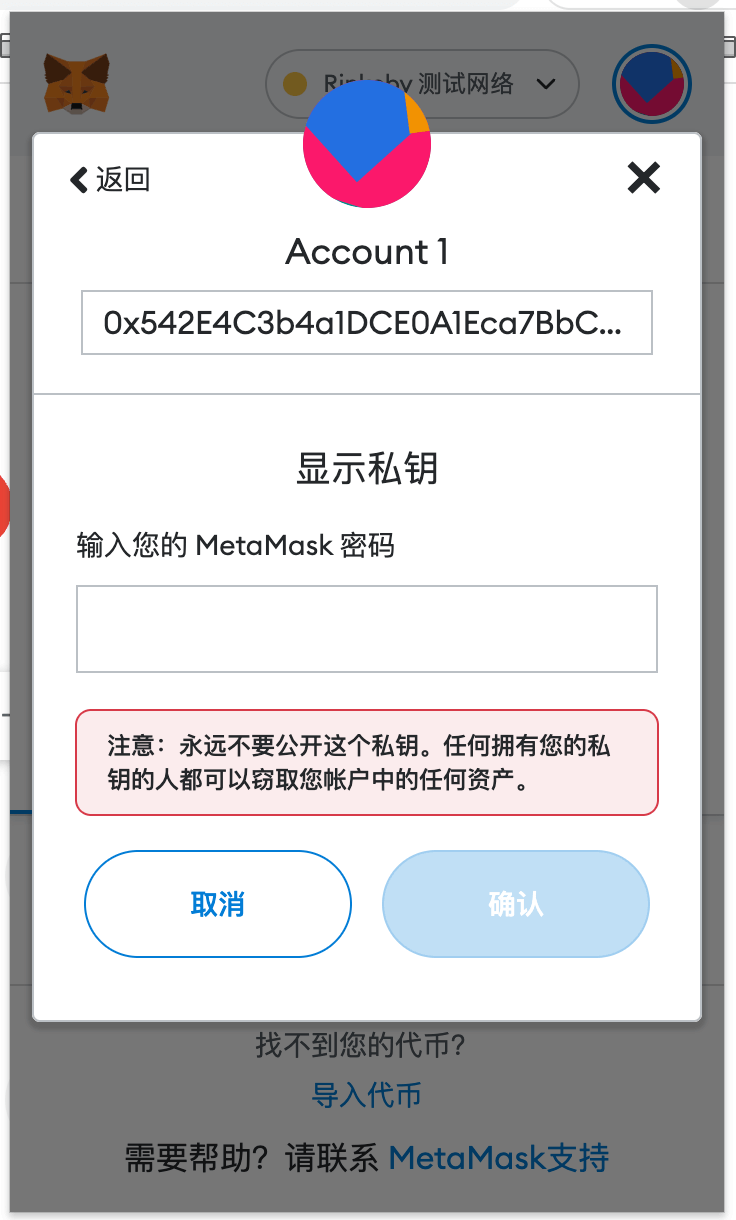
Creating Rinkeby Test Account (MetaMask)
MetaMask Setup
With your test network environment ready, create an account using MetaMask, obtain test tokens, and record your account’s private key for development use.
Important: Never use real private keys or mainnet accounts for development. Always use dedicated test accounts.
Getting Test Tokens
To test contract deployment and transactions, you’ll need test tokens. Use these faucets:
Connecting to Test Node and Wallet
Connecting to the Node
ethers.js provides simple methods to connect to your test node. Use your Alchemy HTTP URL:
const ethers = require("ethers");

const provider = new ethers.providers.JsonRpcProvider(
  process.env.ALCHEMY_RPC_URL
);
Connecting the Wallet
Connect to your test wallet using your MetaMask private key:
const ethers = require("ethers");

const wallet = new ethers.Wallet(process.env.RINKEBY_PRIVATE_KEY, provider);
Security Note: Always use environment variables for sensitive data like private keys and RPC URLs.
Solidity Contract Deployment
Creating a Contract Factory
Use ethers.js to create a contract factory:
const contractFactory = new ethers.ContractFactory(abi, binary, wallet);
Deploying the Contract
Deploy your contract to the Rinkeby network:
// Deploy the contract
const contract = await contractFactory.deploy();

// Wait for deployment confirmation
await contract.deployTransaction.wait(1);

console.log(`Contract deployed to: ${contract.address}`);
console.log(`Deployment transaction: ${contract.deployTransaction.hash}`);
The wait(1) ensures we wait for at least one confirmation before proceeding.
Interacting with Contracts
Once deployed, you can interact with your contract using various methods.
Reading Data (View Functions)
Call the retrieve() function to read stored data:
const currentFavoriteNumber = await contract.retrieve();
console.log(`Current favorite number: ${currentFavoriteNumber}`);
Writing Data (State-Changing Functions)
Call the store() function to update contract state:
console.log("Updating favorite number...");
const transactionResponse = await contract.store("7");
const transactionReceipt = await transactionResponse.wait(1);

console.log(`Transaction confirmed: ${transactionReceipt.transactionHash}`);
Adding Complex Data
Use the addPerson() function to demonstrate struct and mapping usage:
console.log("Adding a person...");
const addPersonTx = await contract.addPerson("Alice", 42);
await addPersonTx.wait(1);

// Verify the data was added
const aliceFavoriteNumber = await contract.nameToFavoriteNumber("Alice");
console.log(`Alice's favorite number: ${aliceFavoriteNumber}`);
Creating Transactions from Raw Data
For advanced use cases, you can construct transactions manually:
Building the Transaction
const nonce = await wallet.getTransactionCount();
const tx = {
  nonce: nonce,
  gasPrice: 20000000000, // 20 gwei
  gasLimit: 1000000,
  to: null, // null for contract creation
  value: 0,
  data: "0x" + binary,
  chainId: 4, // Rinkeby chain ID
};
Signing the Transaction
const signedTx = await wallet.signTransaction(tx);
console.log("Transaction signed");
Sending the Transaction
const sentTxResponse = await wallet.sendTransaction(tx);
const receipt = await sentTxResponse.wait(1);

console.log(`Contract deployed at: ${receipt.contractAddress}`);
Best Practices and Considerations
Based on my experience working with ethers.js in production environments, here are some key recommendations:
Error Handling
Always wrap blockchain operations in try-catch blocks:
try {
  const contract = await contractFactory.deploy();
  await contract.deployTransaction.wait(1);
  console.log("Contract deployed successfully");
} catch (error) {
  console.error("Deployment failed:", error.message);
}
Gas Optimization
Monitor gas usage and optimize accordingly:
// Estimate gas before sending transactions
const gasEstimate = await contract.estimateGas.store(42);
console.log(`Estimated gas: ${gasEstimate.toString()}`);

// Use gas estimate in transaction
const tx = await contract.store(42, { gasLimit: gasEstimate });
Environment Configuration
Use proper environment variable management:
require("dotenv").config();

const ALCHEMY_RPC_URL = process.env.ALCHEMY_RPC_URL;
const PRIVATE_KEY = process.env.RINKEBY_PRIVATE_KEY;

if (!ALCHEMY_RPC_URL || !PRIVATE_KEY) {
  throw new Error(
    "Please set ALCHEMY_RPC_URL and RINKEBY_PRIVATE_KEY in your .env file"
  );
}
Summary
Working with ethers.js provides a solid foundation for Ethereum development. While production projects typically use higher-level frameworks like Hardhat or Truffle, understanding the underlying ethers.js library is invaluable for:
- Debugging complex deployment issues
- Creating custom deployment scripts
- Building DApp frontends that interact with contracts
- Understanding how blockchain interactions work at a fundamental level
As someone who has worked with various blockchain development tools over the years, I find ethers.js strikes an excellent balance between simplicity and functionality. Its modular design makes it easy to understand and extend, while its comprehensive feature set covers virtually all Ethereum development needs.
The skills you develop working directly with ethers.js will serve you well when transitioning to frameworks like Hardhat, as these tools are built on top of ethers.js and share many of the same concepts and patterns.